
Setting up your knowledge base starts with creating articles. Building a repository of articles is simple by using our WYSIWYG editor. You can also organize your knowledge base articles by category and tag, so that they are easy to find and intuitive to use. Follow the steps below to start.
Step by Step Instructions
- Log into your Comm100 account.
-
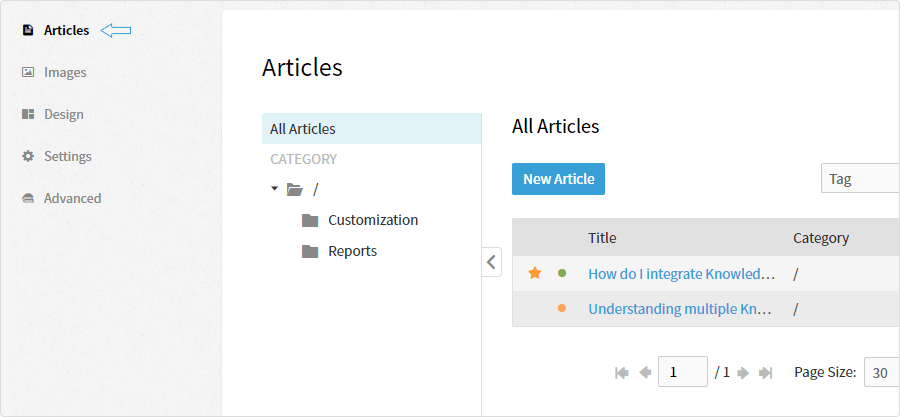
Click Articles from the left menu list under the Knowledge Base product.
-
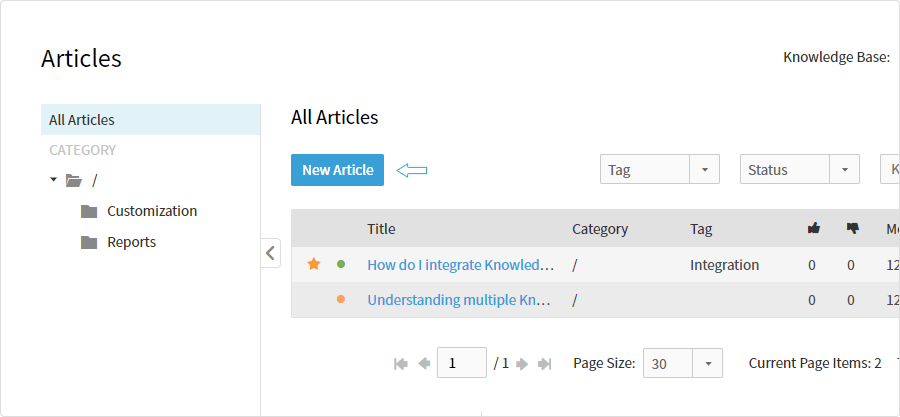
Click the New Article button on the page.
-
Input the article title and mark it as Featured when you see appropriate by clicking the Star icon in the Title box. (Featured articles appear above the non-featured ones on your knowledge base pages.)
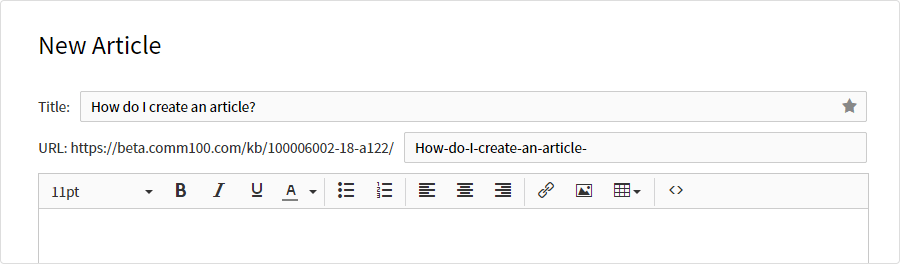
- Draft your article content in our WYSIWYG HTML editor. If you have drafted the source code of the article elsewhere, you can click the Source Code icon at the end of the tool bar to simply paste the code in the editor.
-
Select a Category that the article should fall under, and assign Tags for the article.

- Click Preview to see how it looks like to your customers on your knowledge base.
-
Once the article is ready, change the article status to Published, and then hit Save.
Note: The default status of every article is Draft. To make an article visible on your knowledge base, you need to change its status to Published.
Now that the article has been published, your customers can view, and leave helpful or not helpful ratings if you allow them to do so.