Canvas, a widely used learning management system, serves as a centralized platform for educators and institutions to efficiently manage various facets of the academic experience. This includes overseeing students' enrollments, distributing announcements, assigning coursework, recording grades, and facilitating navigation through course materials.
Comm100’s Chatbot integration with Canvas enables you to deliver seamless and real-time support to students throughout their educational journey. This integration ensures immediate assistance, fostering a more efficient and interactive learning environment.
Connect Canvas with Comm100
- Log in to your Comm100 account.
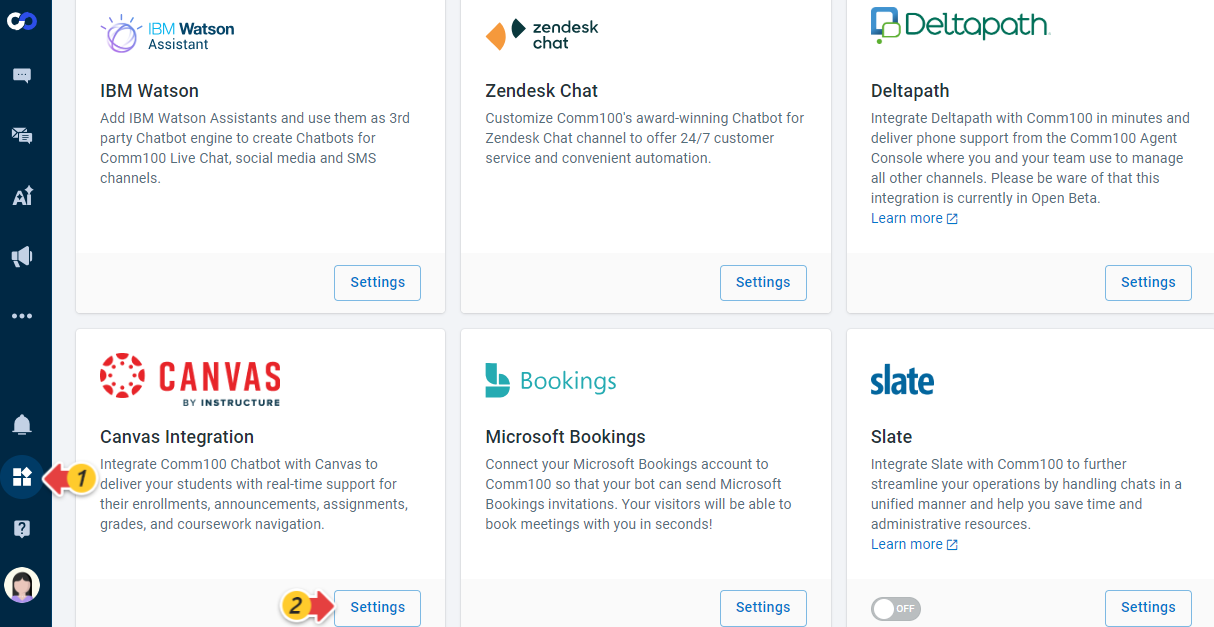
- From the left navigation menu, go to Apps & Integrations.
- Locate the Canvas Integration card and click Settings.
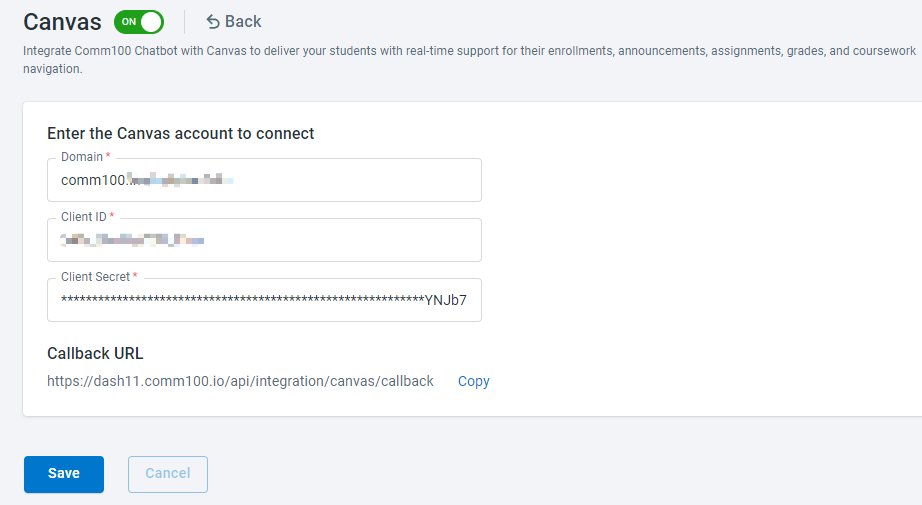
- Turn on the Canvas toggle key.
- Enter your Canvas account’s Domain, Client ID and Client Secret.
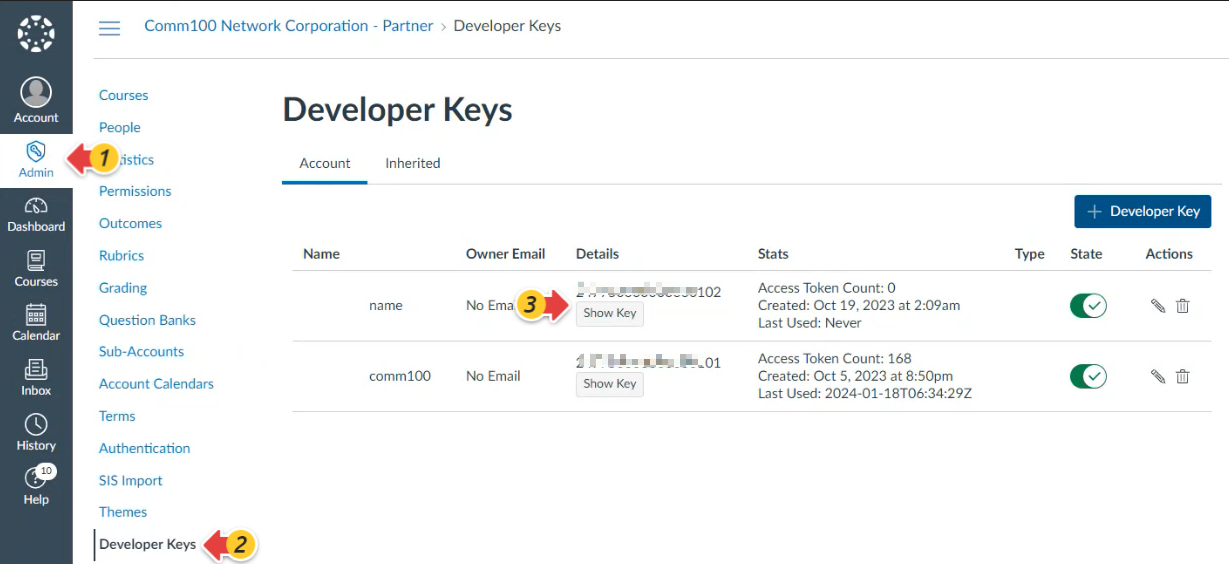
You can obtain the Client ID and Client Secret from your Canvas account by accessing Admin > Developer Keys > Details column. If you need guidance on adding a developer API key for your Canvas account, see this article. - Copy the Callback URL and click Save.
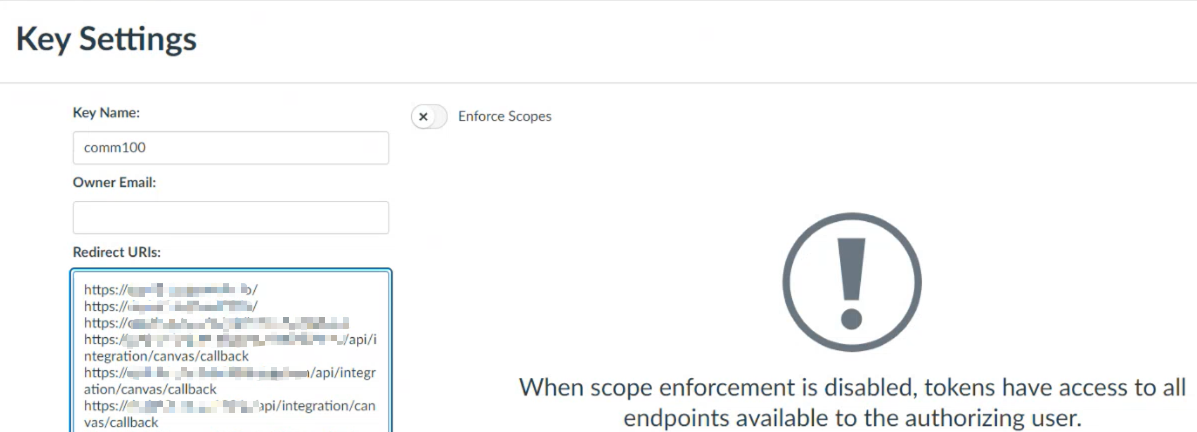
After that, add the Callback URL to the Redirect URLs section of the corresponding Developer Key on your Canvas account.
Canvas Action on Comm100
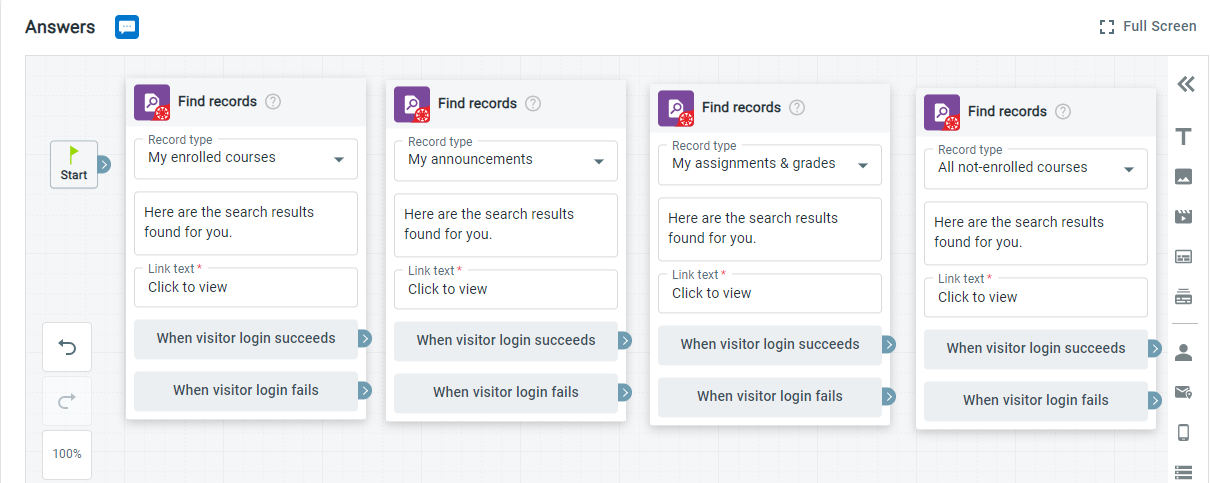
After integrating Canvas with Comm100, students can conveniently access details about their enrolled courses, announcements, assignments, grades, and not-enrolled courses through the Chatbot after successful login.
The Canvas “Find records” action can be configured either in the AI & Automation > AI Agent > Custom Answers > Intents-Answers menu or Event Messages flow builder, or both.
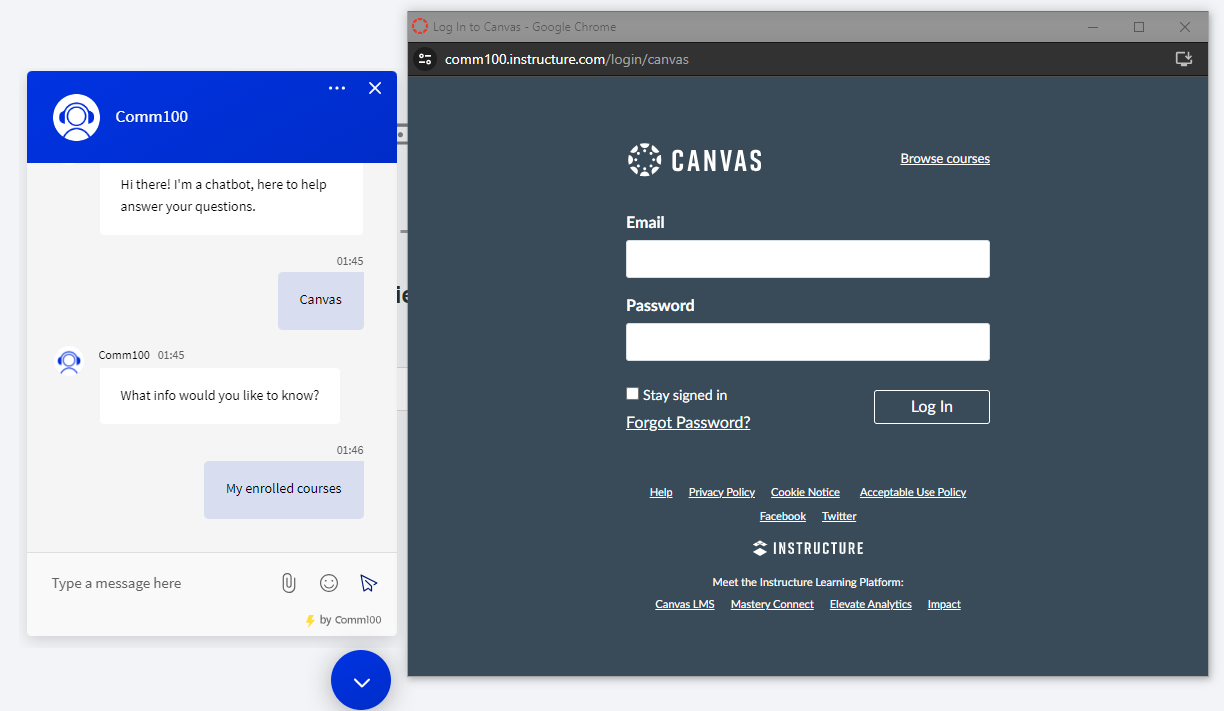
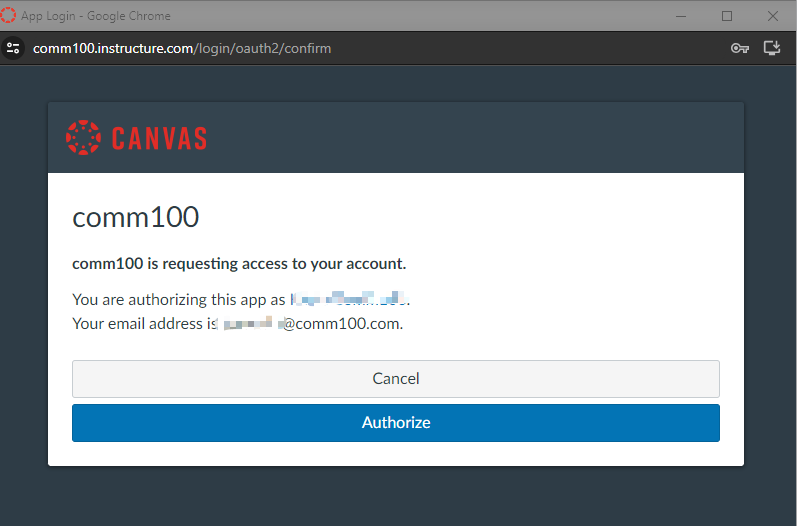
On the student’s side, when the Intent or Event Message gets triggered, they will see a login page and then the authorization page.
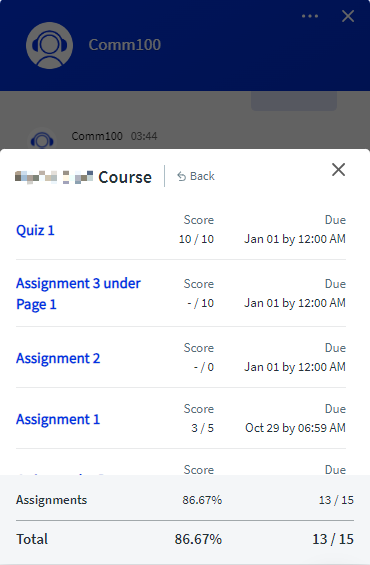
After successful login and authorization, they can directly view the desired info on the chat window.
- My enrolled courses
Students get a list of their enrolled courses, each displaying the course name and description. Clicking on a specific course directs them to its homepage on Canvas. - My announcements
Students get a list of course names, announcement titles, announcement messages, and posted times. - My assignments & grades
Students can view the score and due time for each assignment, an overall percentage, and the total points achieved. - All not-enrolled courses
Students receive a list of courses they are not enrolled in, along with a quick "Join this Course" link. Clicking the link directs them to the corresponding "Enroll in Course" page on Canvas.

