In Comm100 Booking, after services are booked by customers, you can view and manage the booked appointments on the Agent Console. This article walks you through the operations that you can perform to manage the scheduled appointments from the Agent Console. This article walks you through the operations that you can perform to manage the scheduled appointments from the Agent Console.
- For appointments from Comm100 Booking, you can perform managing operations such as rescheduling or canceling the event.
- For appointments from your connected calendars, you can view its details such as event name, booking source, time, and duration, but you cannot update the event from the Agent Console. Deleting or editing an appointment from the connected calendar also changes it in the Comm100 Booking system.
- To learn how to set up booking, see this article.
- By default, your site administrator can view and manage the appointments of all agents, and individual agents can manage their own appointments. Admin can also grant the permission of managing all appointments to an agent. To learn more about how to manage agents’ permissions, see this article.
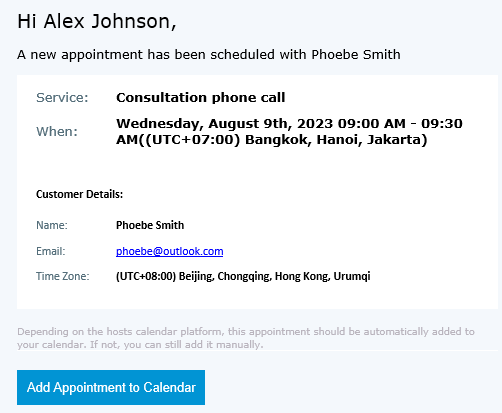
- The system sends a notification email to you when an appointment is scheduled with you. You can click the Add Appointment to Calendar button in the email to add the meeting to your own calendar.
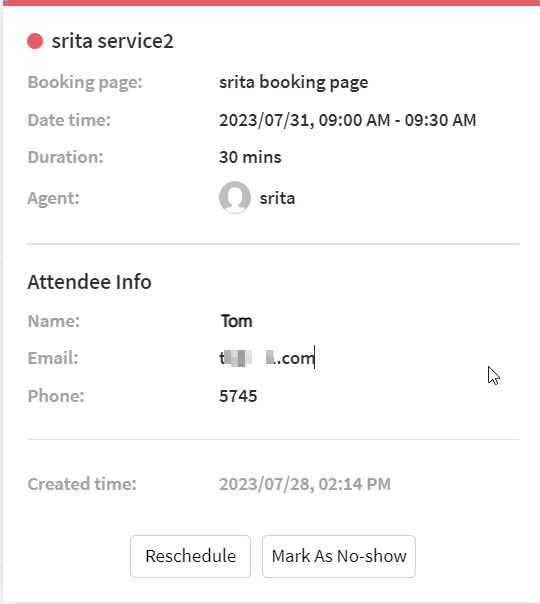
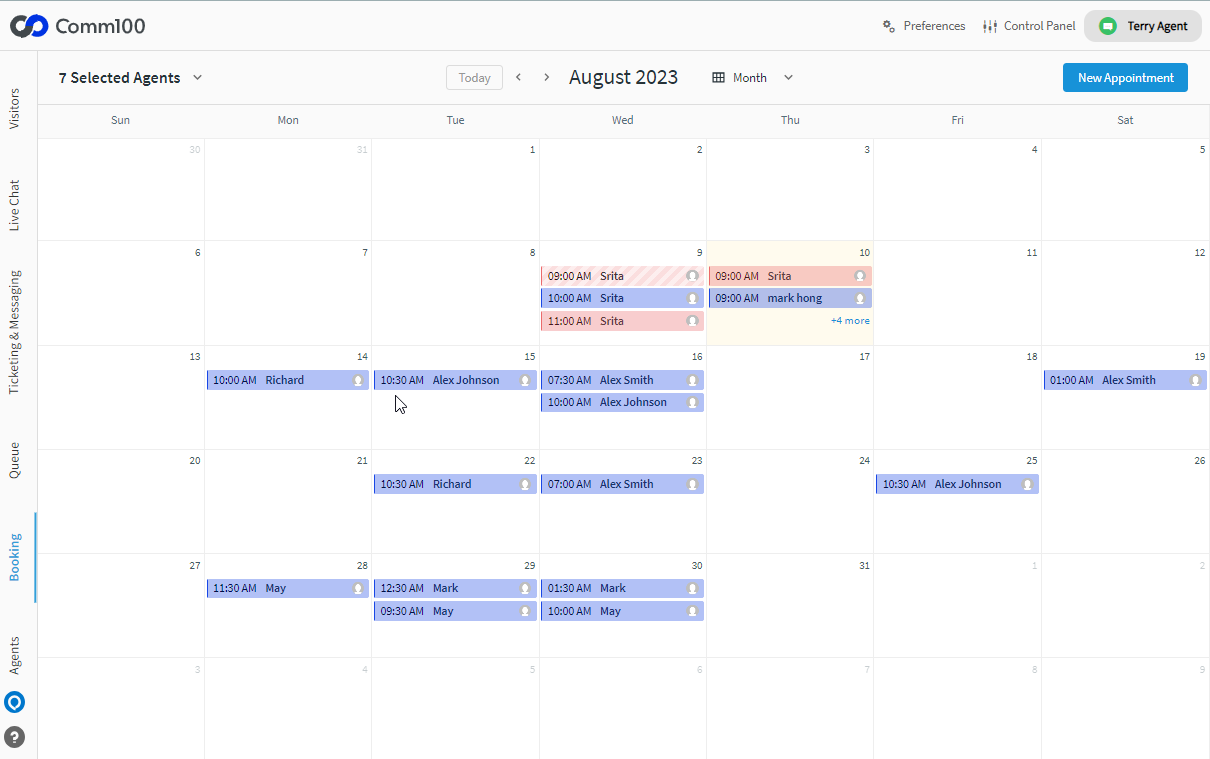
From the Booking tab of the Agent Console, you can view your appointments in a calendar view. The appointments appear in the color defined for the corresponding services, and appointments from your connected calendar are marked by an indicator. You can click an appointment to view its details including the time, duration, the booking source, visitor’s information, and the created time.
- The appointment time reflects the time zone of the assigned agent. Agents’ time zone can be changed under their profile settings from the Control Panel. To learn how to change agents' time zone, see this article.
- The visitor’s information displayed depends on the fields to collect from visitors defined for the service.
- As an administrator, you can check appointments of specified agents by choosing from the drop-down list on the top left of the calendar.
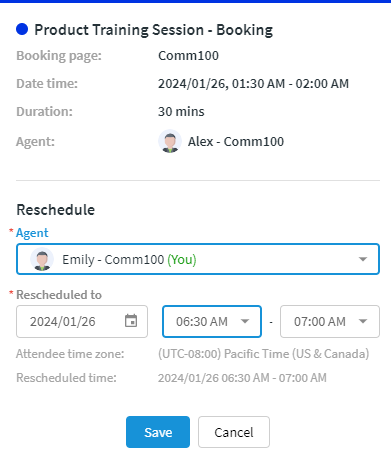
- When you have the "Manage All Appointments in Agent Console" permission, you can seamlessly take over or reschedule appointments to alternative agents in the event of the initially assigned agent's absence. This ensures continuity in scheduled appointments, preventing any disruption to customer experience and service delivery.
- For a future appointment, you can reschedule or cancel it.
- A cancelled appointment disappears from the calendar.
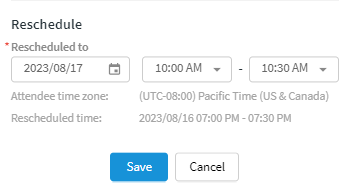
- When rescheduling an appointment, choose the time according to your available time slots, and you will see the Rescheduled time showing the visitor’s time correspondingly.
- For an appointment that did not take place as scheduled, you can reschedule it or mark it as no-show.
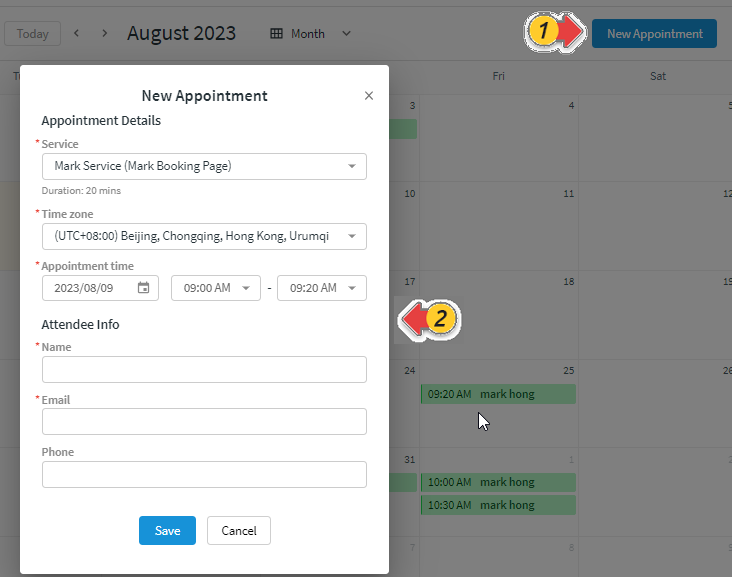
- You can also manually create an appointment for a customer by providing the required information such as name and email.